To create a PCB you need some kind of container for your etchant. In the beginning I used a small plastic box filled with etchant (sodium persulfate) that I floated in a bigger plastic box filled with hot water to keep the etchant warm. To agitate it (and prevent it from toppling over) I would hold the inner container and rock it forth and back. This works fine, but is very slow and tiresome. So I decided to build an etch tank to hurry up the process and make it a bit more automated.
I wanted the tank to be automatically agitated and heated. And I wanted it to make inspection of the PCB while etching to be easy so I could tell when to remove the PCB. With that established I bought a sheet of 4mm plexiglass, some silicone sealant, a 300W adjustable water heater with a temperature range suitable for the etchant, a thermometer with a plastic coated sensor that could be submerged in the etchant without disappearing at a molecular level, some PVC hose, some angled hose fittings, and some furniture feet pads. And I dug out an old aquarium air pump that I had floating around already.
 First I cut all the plexiglass pieces needed to build a tall vertical tank with a base plate for stability. The original plan was to glue it all together with the silicone sealant. But holding the pieces together while the sealant cured turned out to be tricky. So I figured I would try to tack it together by temporarily melting the plexiglass with acetone. Ant that turned out to work way better than I had anticipated. So I ended up gluing the hole tank together with acetone. It seemed to be very strong and completely water tight. Even though I could find no leaks while testing the tank I added a small seam of silicon sealant to each joint just in case.
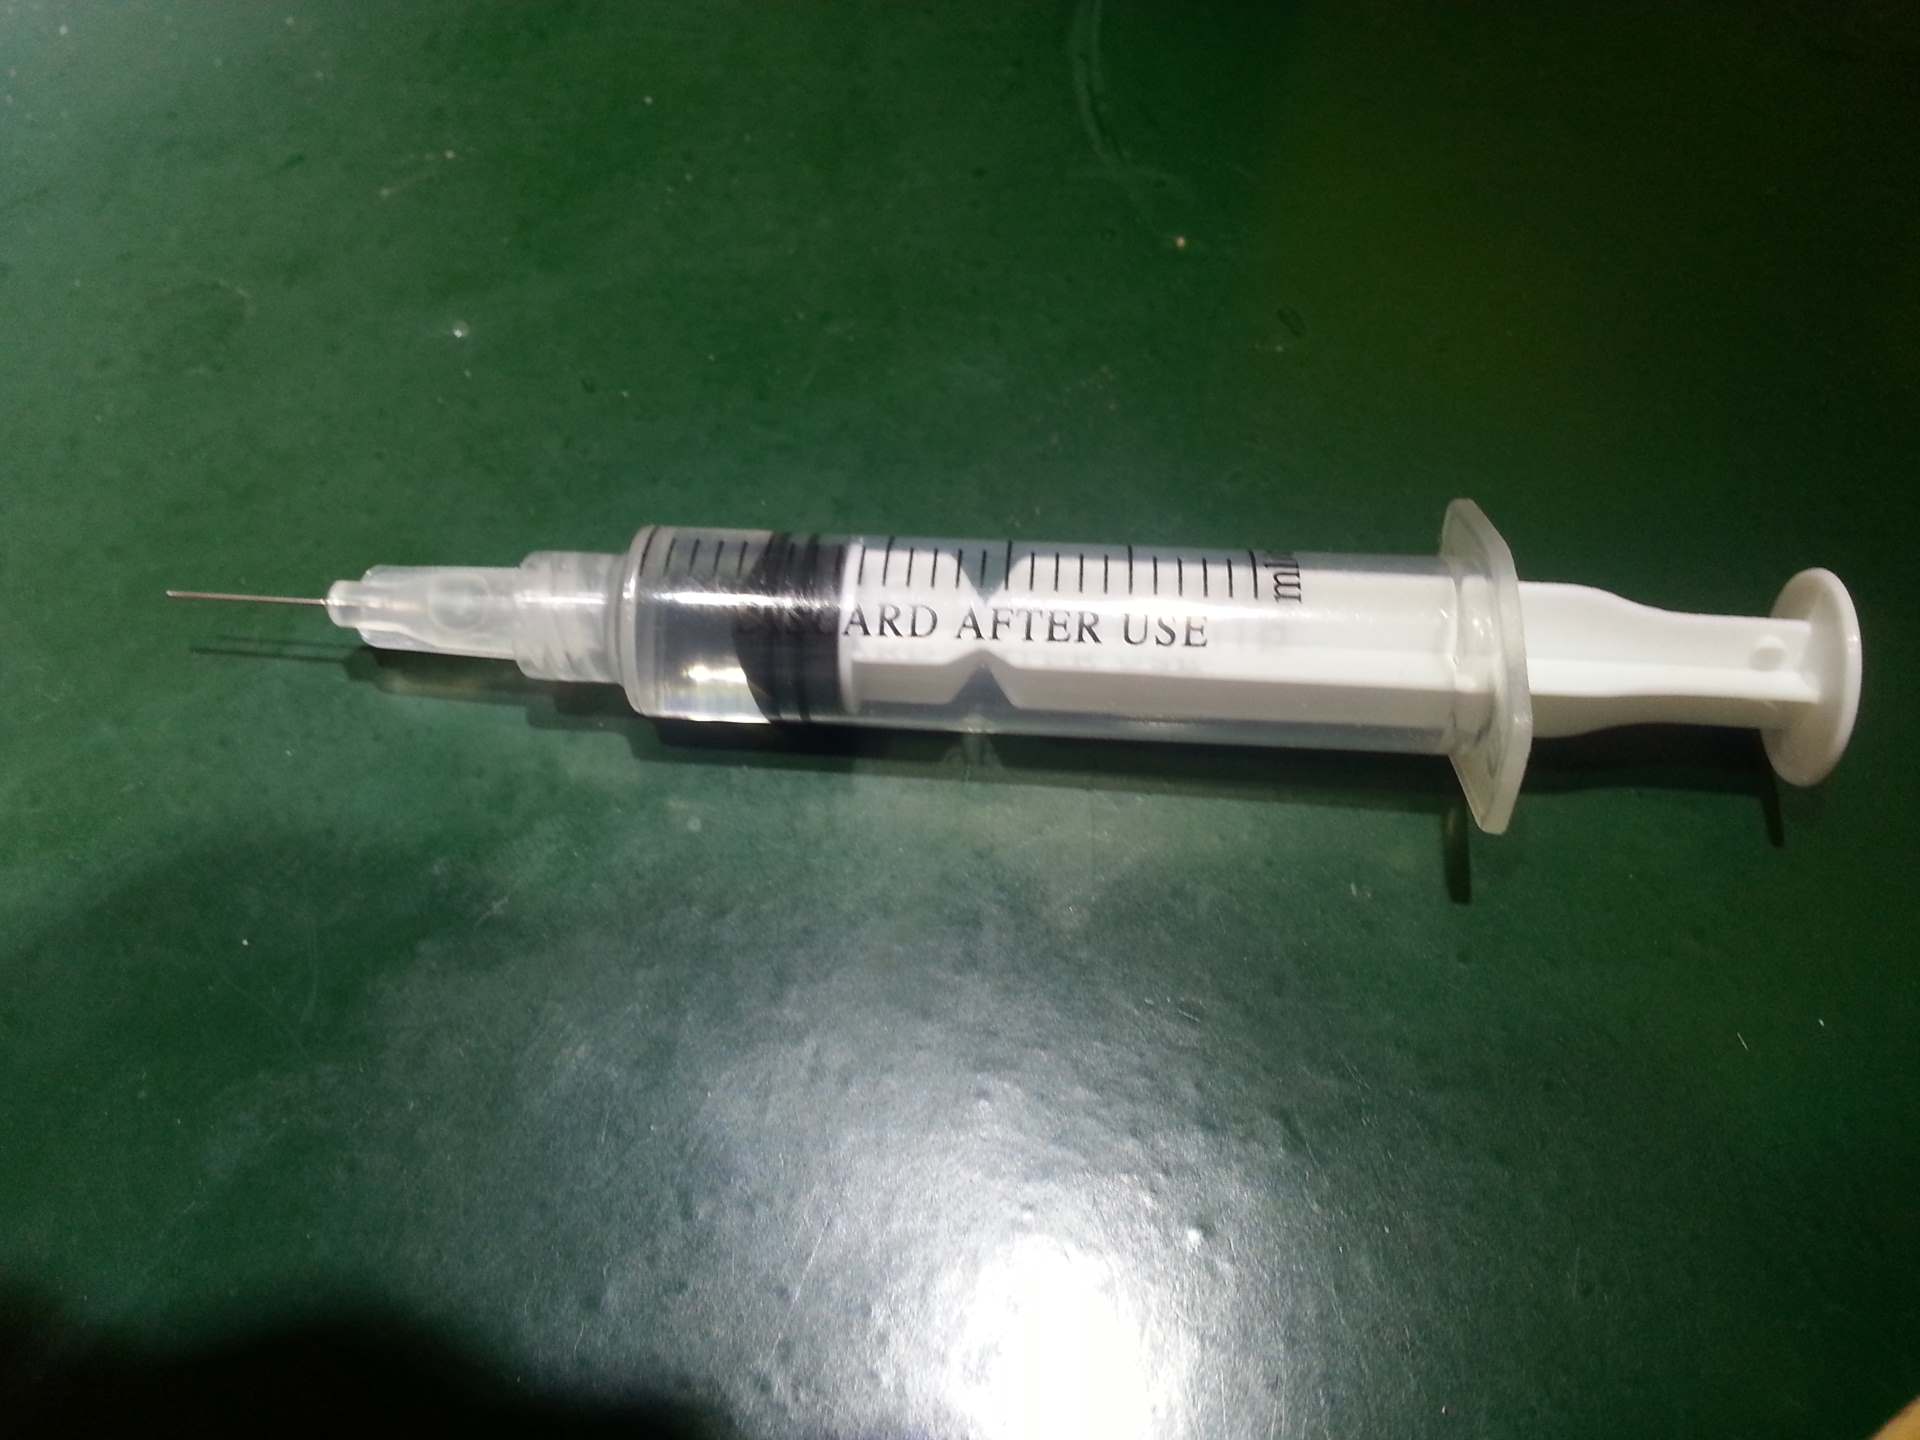 To glue the plexiglass together I first smoothed the cut edges by sanding them, and then held them together while applying acetone using a dispenser syringe with a 0.21mm ID needle. Luckily the dispenser syringes I have seems to be pretty resistant to acetone.
 The acetone quickly wicked into the seam and dissolved the outer surface of each part causing them to fuse together. Then after a few seconds enough acetone had evaporated that I could let go of the parts without anything falling apart. After the acetone had completely evaporated the two pieces almost seemed like they where one. Had I knew up front how well this worked I would have put a bit more work into making the edges smooth.The most level edges made really nice joints that looked like it had been molded that way. Those that was a bit rougher (most of them) had lots of air bubbles trapped in them. But not to the extent that it would cause any leaks. I also started out with another syringe that had a short much thicker plastic nozzle, and that lead to a bit of spilled acetone on the plastic. That lead to a rough surface that in some areas would turn white when getting wet. But none of this flaws affects the performance of the tank, so I didn’t bother starting over from scratch when I had it all figured out. The tank has been in used and constantly filled with etchant for two years now, and are still going strong.
 After mounting the bottom plate and the four side plates I made a lid for the top. The top of the tank is covered by tree pieces of plexiglass. One just big enough to drill a hole for the water heater and one smaller piece with holes for an air hose and the temperature sensor wire. Those two pieces are permanently glued to the top of the tank after drilling the mentioned holes.
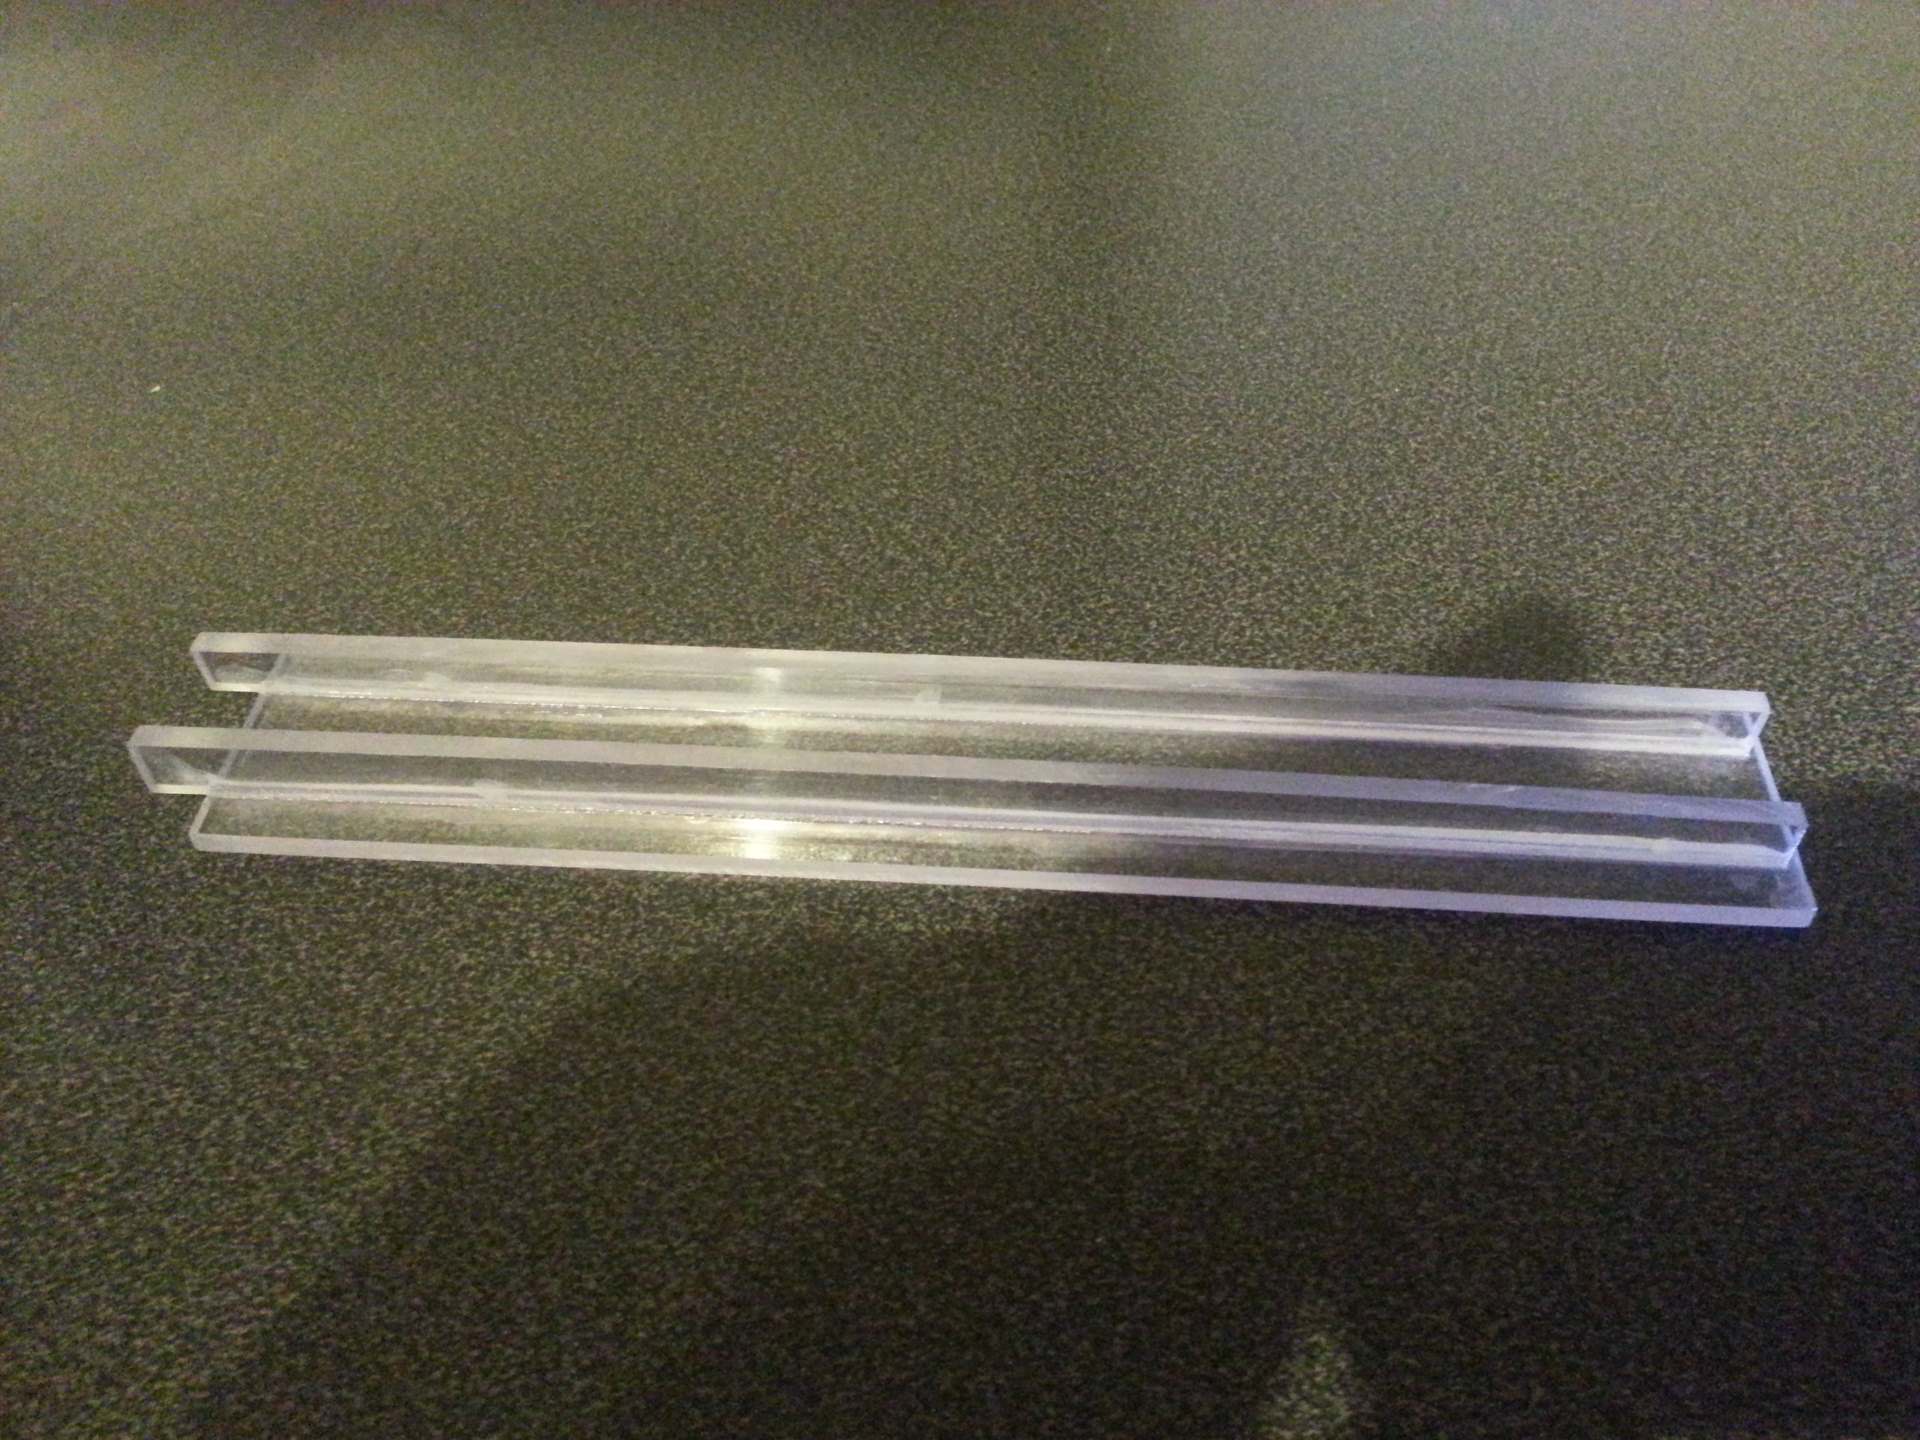 The removable lid is made from a larger piece of plexiglass with two small plexiglass “rails” glued to the bottom. The rails are placed so that they fit closely into the tank, and they extend slightly outside one edge of the lid so they will grab under one of the fixed pieces of the top when the lid is put in place.
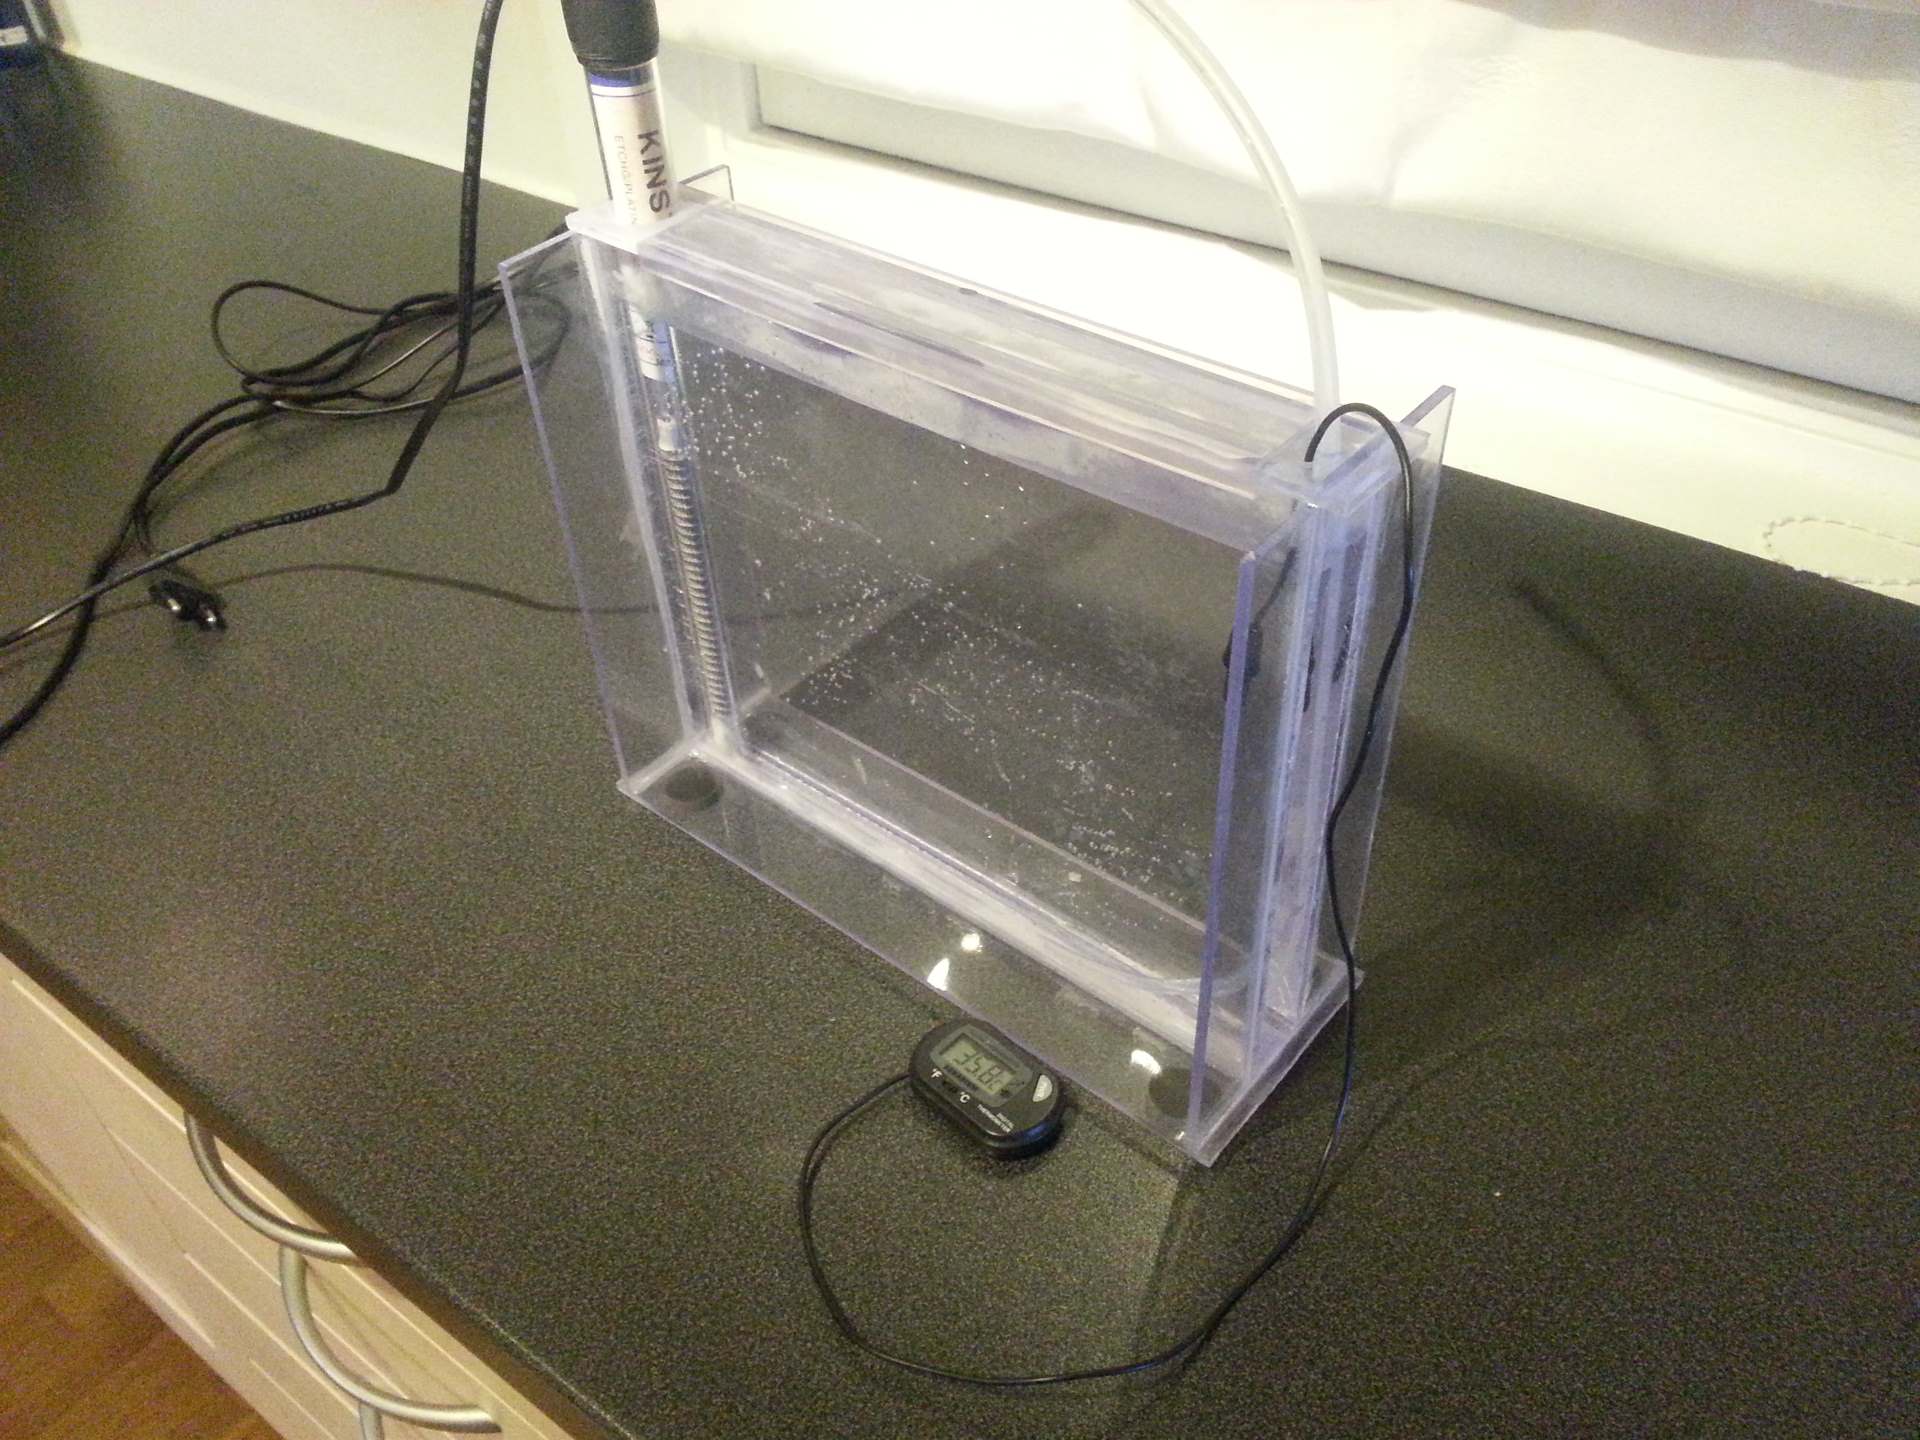
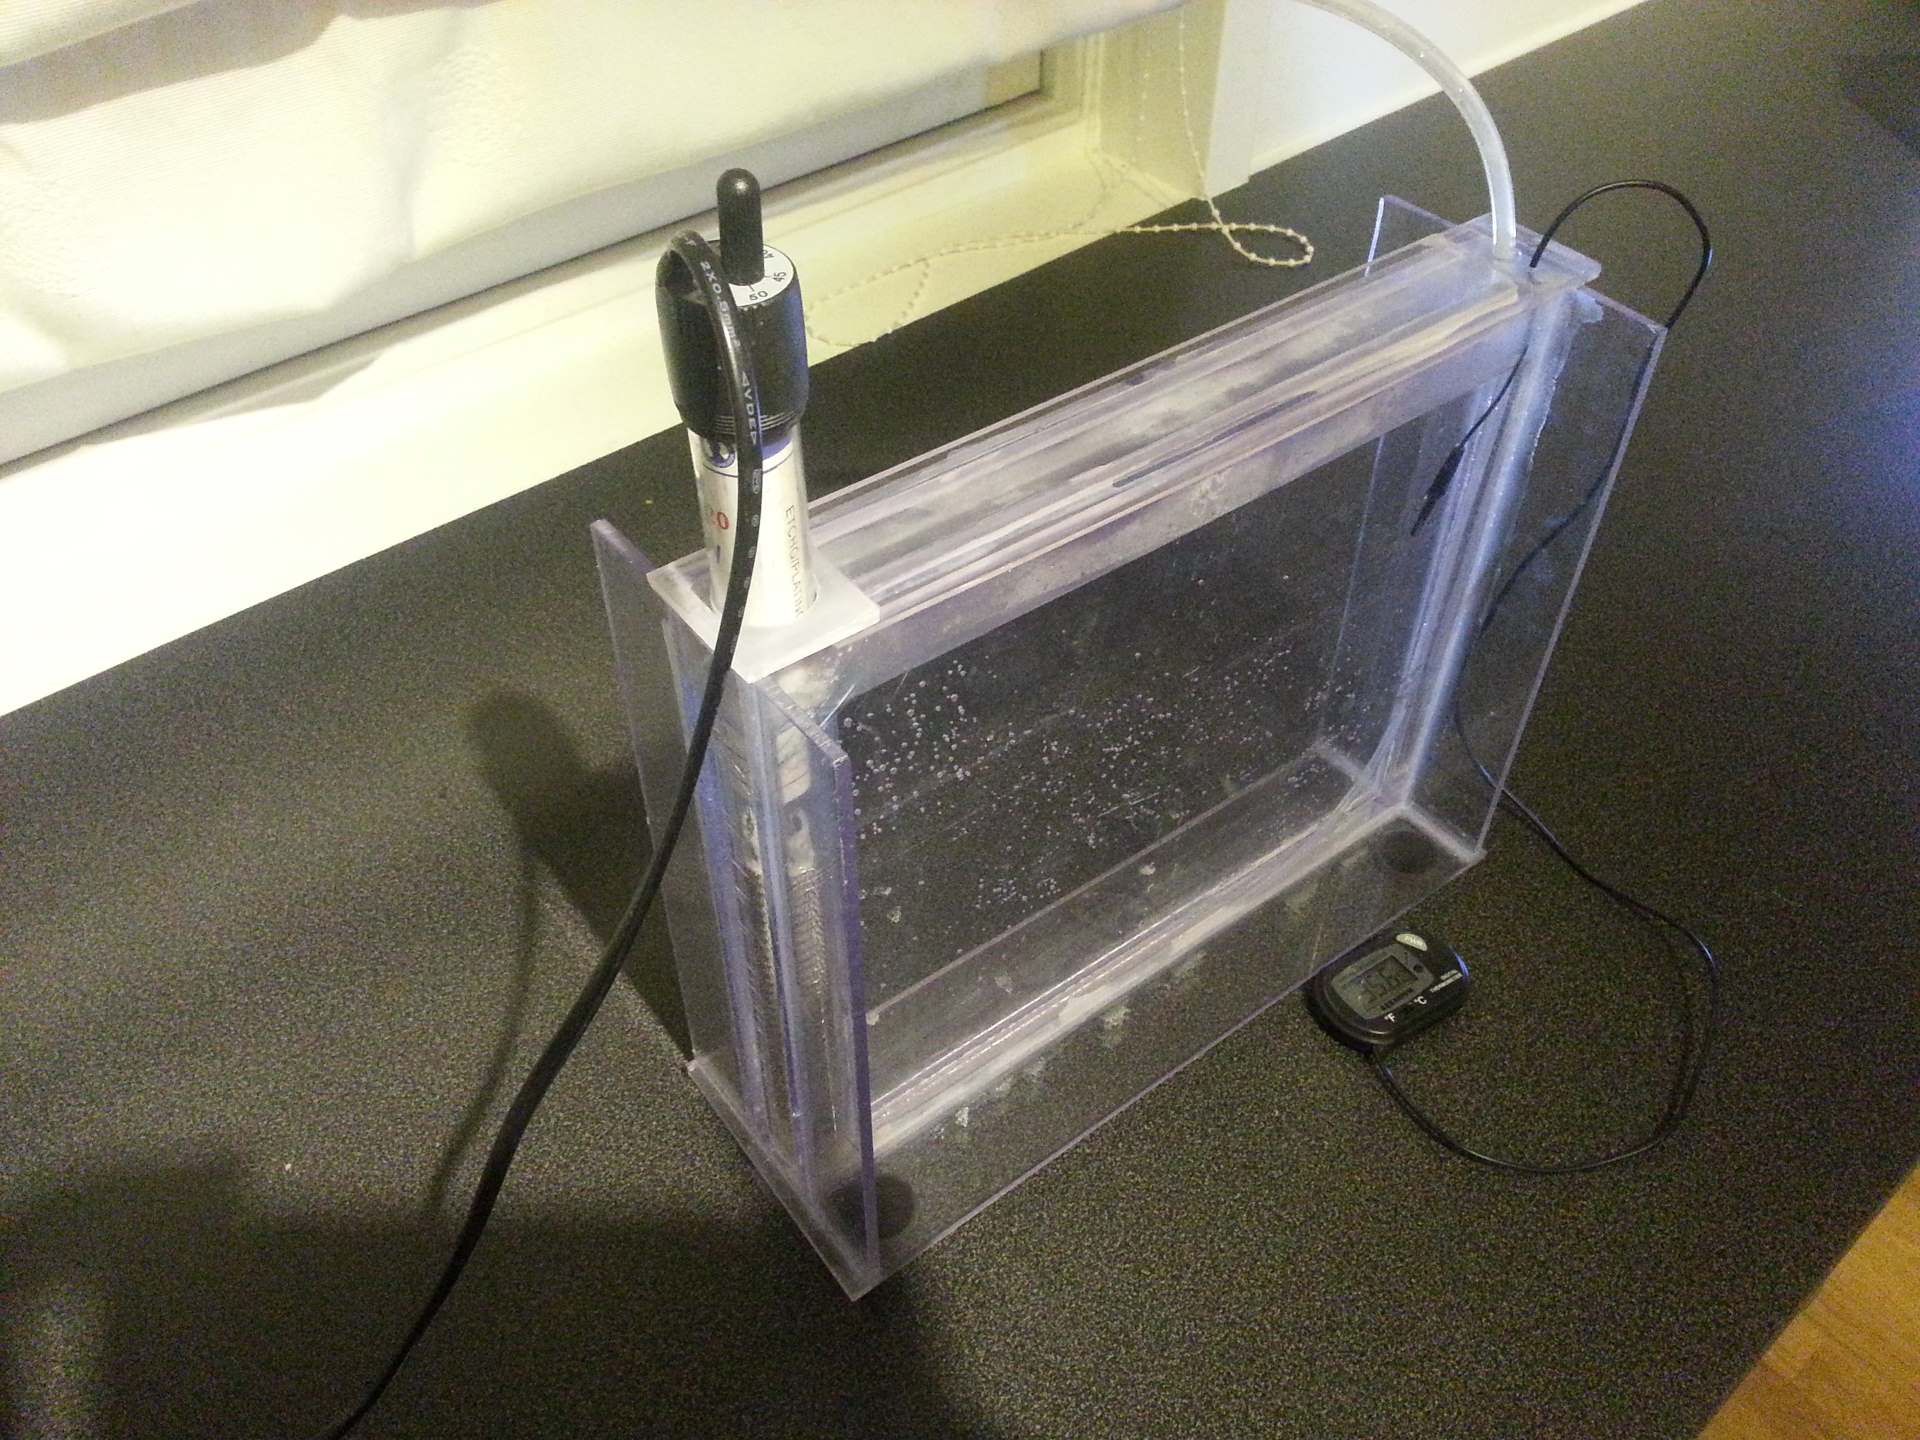 Now the tank can be heated by inserting the temperature controlled water heater through the large hole in the top. The heater I used looks just like the usual aquarium heater. But at 300W it is a bit more powerful than most aquarium heaters. And it has a thermostat that can be set to more than 70°C. Which I guess would make a well cooked fish soup out of an aquarium, but is perfect for an etch tank. The optimal temperature for the etchant I use is 60°C, which is easily attained with a little tuning of the heater thermostat. To make it easier to tune the termostate I also installed a thermometer in the tank. I found one made for aquariums that have a fully plastic coated sensor. To be able to make the sensor wire fit as closely as possible I opened the main unit of the thermometer and desoldered the sensor wire. Then I threaded it through the hole in the tank top from the inside and soldered it back into the thermometer.To agitate the tank I first joined two pieces of PVC hose with a 90° plastic fitting. One short piece just long enough to reach across the bottom of the tank, and one longer that would exit the top of the tank and be hooked to an air pump. The shorter fully submerged hose had a lot of tiny holes drilled along it’s full length, and the end was plugged, before it was glued to a piece of plexiglass to make sure it stayed straight. By pumping air down the hoses air bubbles would form along the whole bottom of the tank and help circulate the etchant and remove the small oxygen bubbles that is produced when etching from the PCB.
This setup had a couple of flaws. At first it seemed to work fine. But after a few weeks the hose loosened from the plexiglass and started to buckle a bit. The plastic had apparently reacted with the etchant in some way and now had a slightly sticky surface. After a few more weeks the plastic fitting had a catastrophic failure and broke in two. I guess the plastic used in that one had become a bit to intimate with the etchant as well. So I plan to make a plexiglass box with holes drilled at the top for bubble generation and a larger hole in one end for the air hose. The plexiglass does not seem to mind being in contact with the etchant. But right now I just use a long silicone hose that curves in the corner and have holes drilled along the part that follow the bottom of the tank. It works in a pinch, but is not perfect.
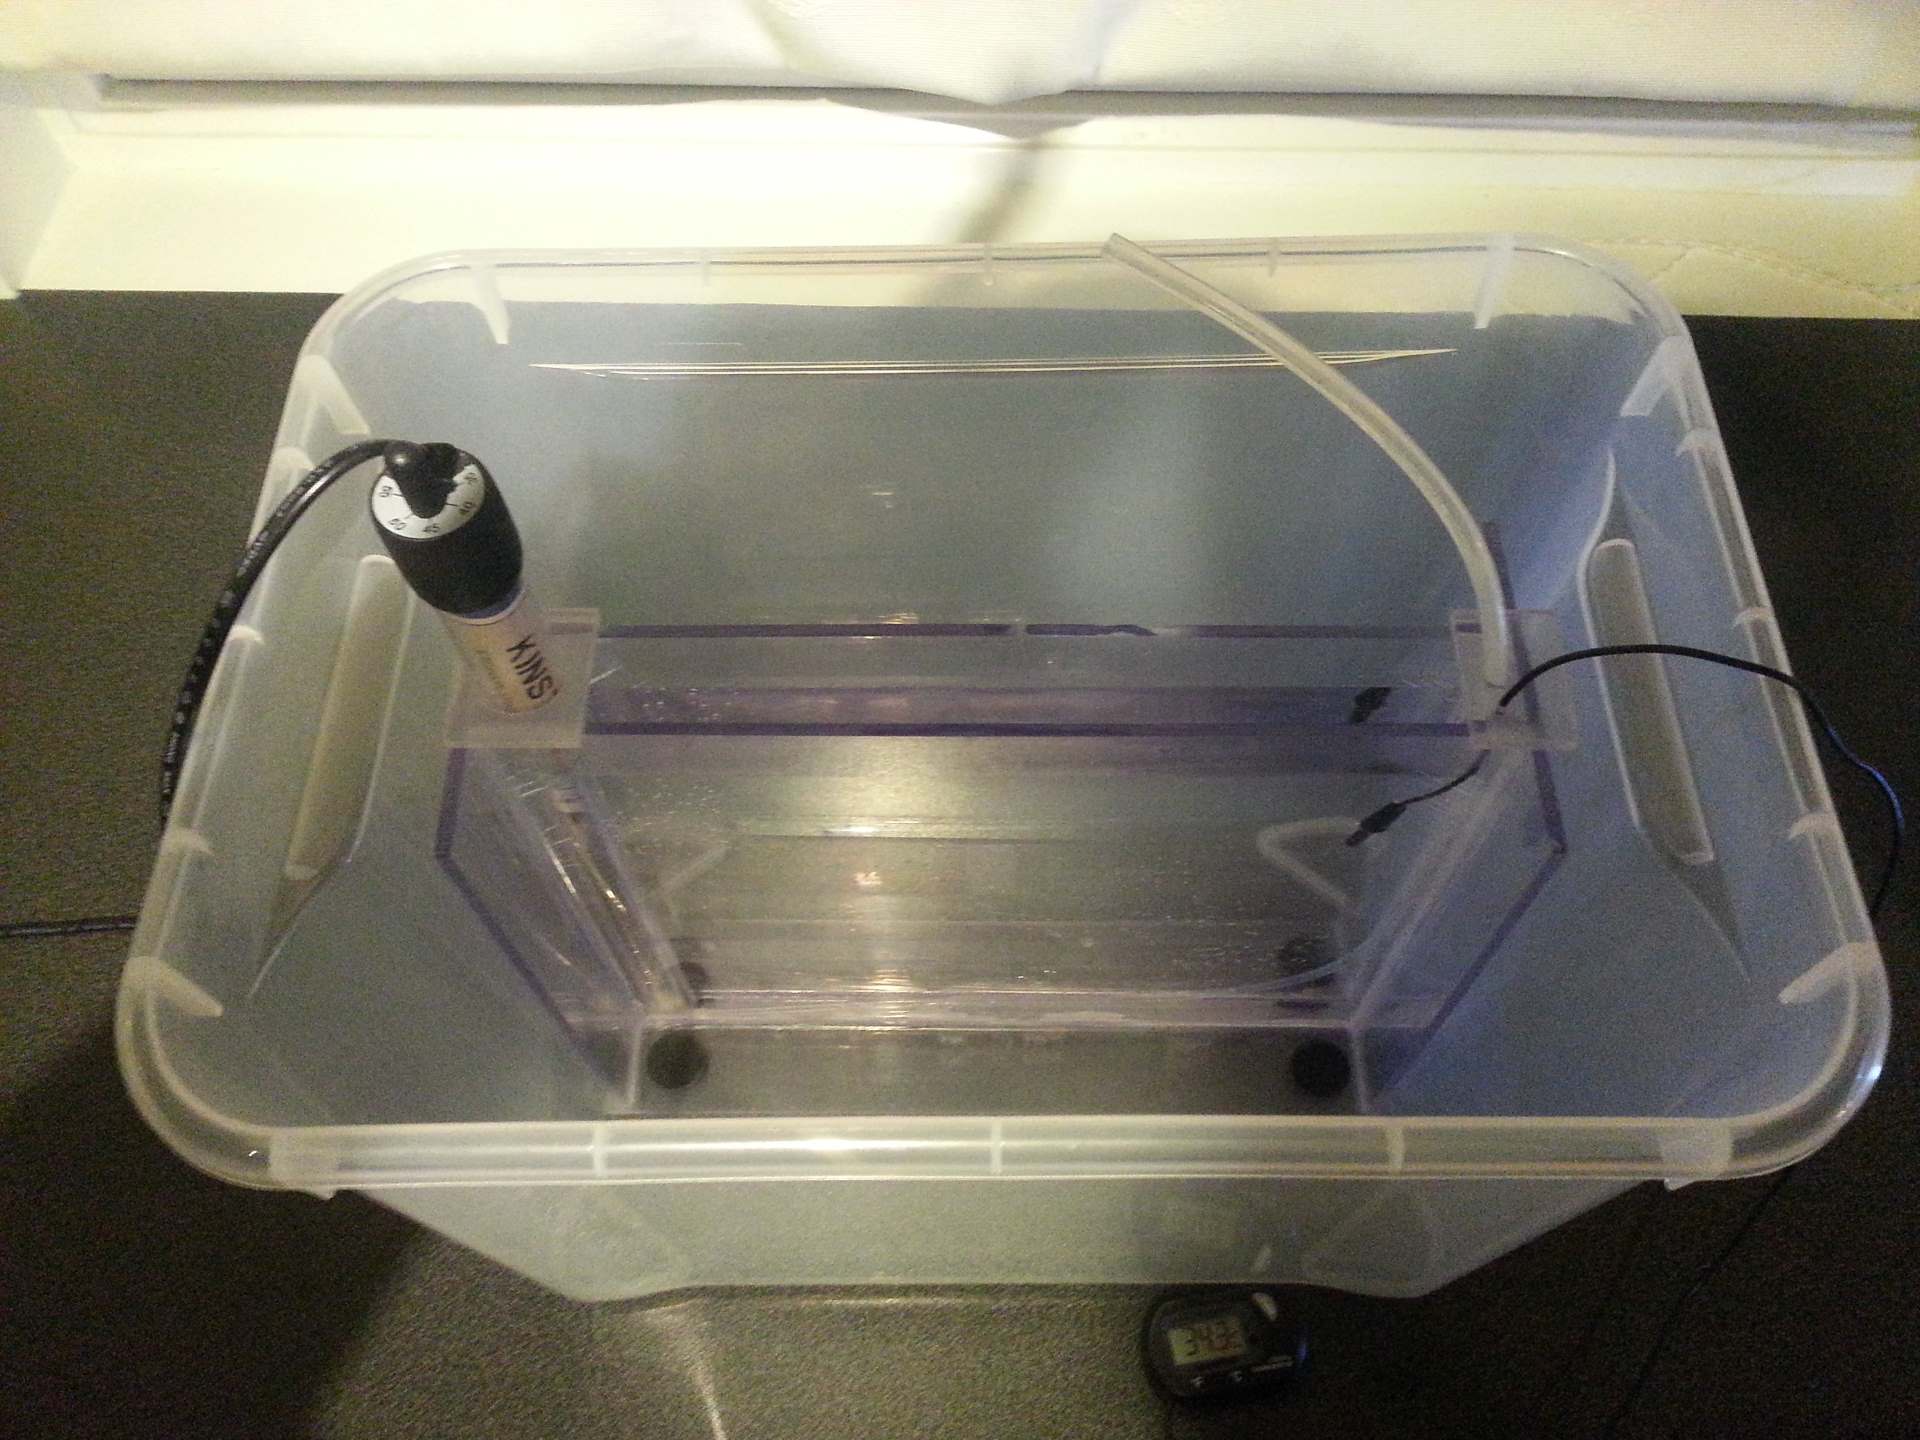

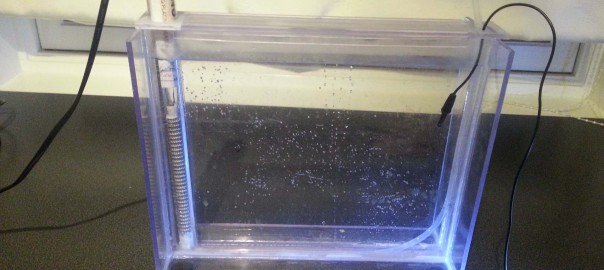
Whenever the tank is filled with etchant I keep it inside another big plastic container. When the air pump is running without the lid on it will cause a little splatter around the tank. By keeping it inside another container this cause less problems. And it makes it all a lot safer if the tank should catastrophically fail or accidentally topple over.
In addition to the slight issues with the air bubble system, there is one more thing still missing. And that is a simple and efficient way to hold the PCB while etching. Until now I have drilled a small hole in two of the corners of the PCB and tied a plastic fish line between each hole and a small plastic rod that I then place across the top of the tank. This is not ideal since it don’t provide any support for the bottom of the PCB. So it tend to flop around a bit due to the bubbles. This is not a big issue though, as it does not seem to affect the performance in any adverse way. But it also prevent me from putting the lid on while etching, so splattering becomes a problem.
One solution I have thought of is to make hooks under the lid that I can hang the PCB from. Another is to make some kind of frame the PCB can be mounted in that is then submerged into the tank. The latter solution would rigidly hold the PCB and would probably be easier to use (no drilling or putting knots on super slippery fish lines), but would be more work to make. Right now I’m prioritizing other projects though, as the tank is performing pretty well even with these shortcomings.
Curious if you ever solved the issue of holding the PCB while etching? I’m at that design phase myself, and my imagination outpaces my rudimentary manufacturing capability.
I have not implemented a really good solution for that yet, but I found a method that works pretty well. Basically I do like explained in the “Etching” section at the Making PCB page where I used cloth clamps.
The only problem I had that time was that the metal spring reacted a bit with the etchant. And that I have later solved by taking the spring off and replacing it with rubber bands.
Since the clamps don’t clamp as much with the rubber bands I also drill a small hole in the edge of the board and tied it with a fishing line. Just in case the clamps let go and I have to pull it up from the tank without them.